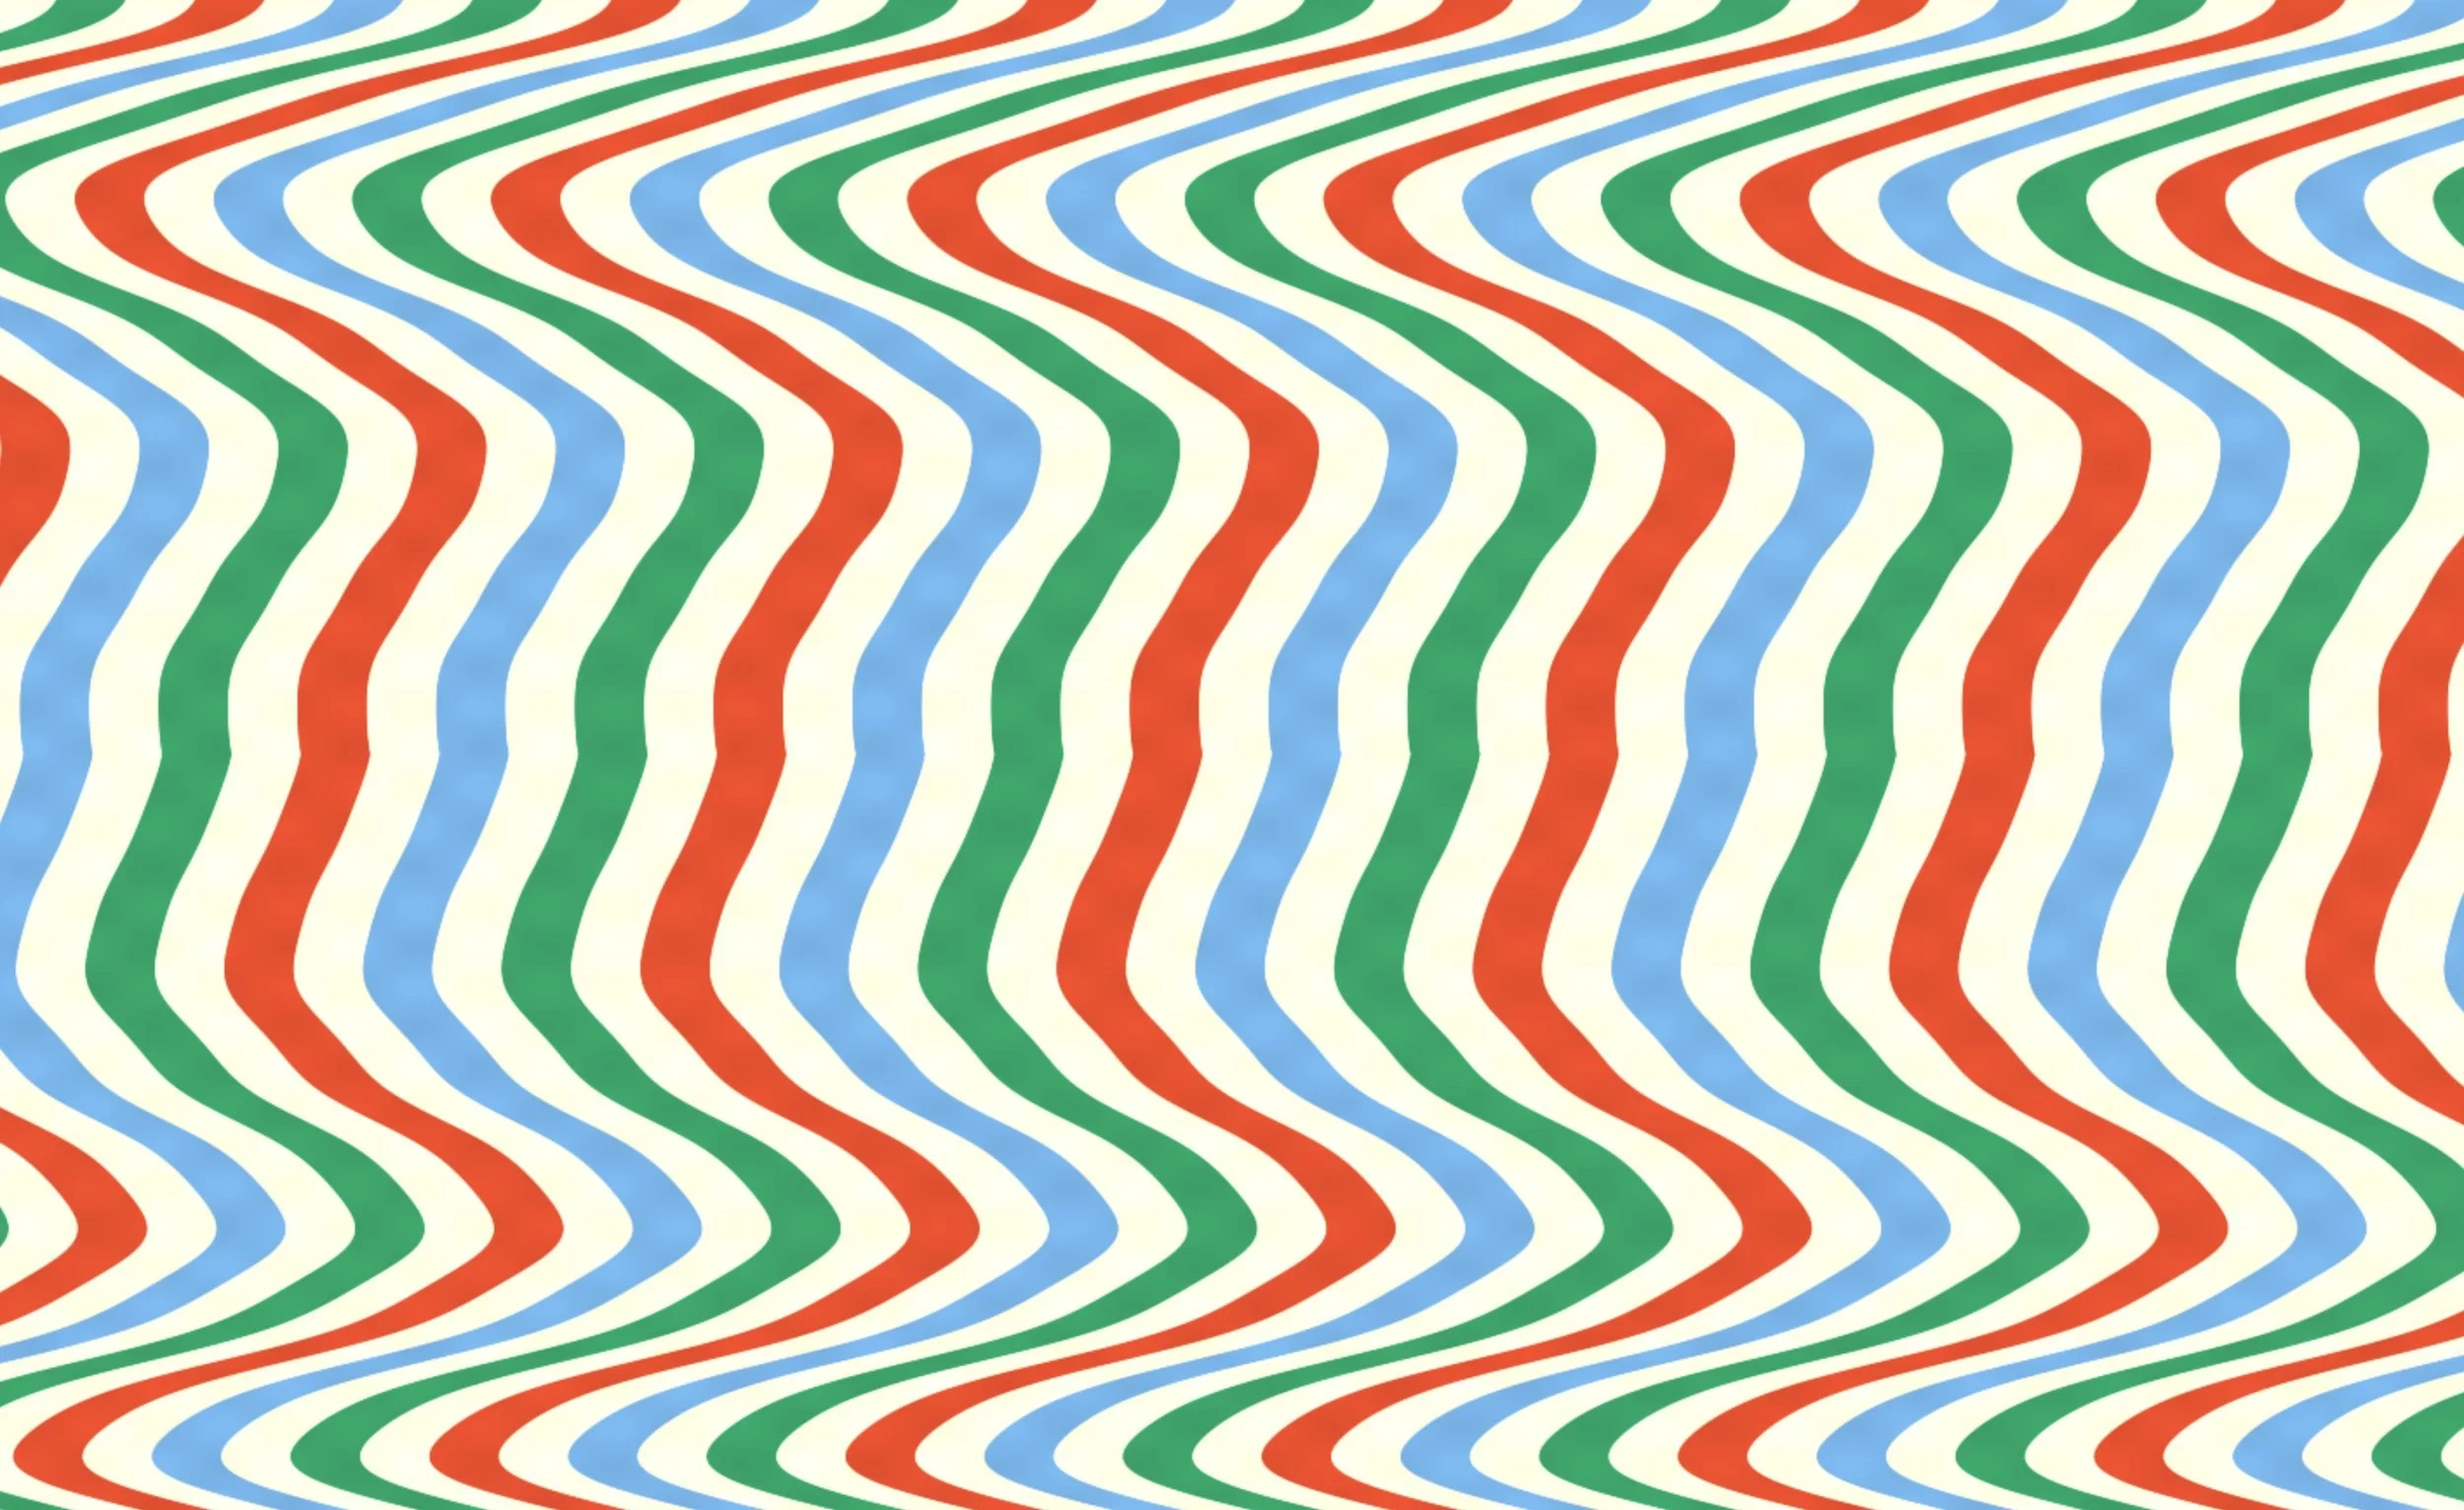
CSS-only animation — 10 div elements, ~40 lines of CSS, no JavaScript. Seamless 30-second loop. Generated in a single AI conversation.
That’s not a framework or a library. It’s plain HTML and CSS — the same tools that have been in every browser for decades. A single CSS custom property (--i) feeds into a calc() expression so one animation rule drives ten different speeds. The AI figured out the technique; you just described what you wanted to see.
This is worth keeping in mind as we dig into tools like p5.js and Three.js: a lot can be done with very little.
Beyond Text-to-Video: Using AI to Write Code That Generates Visuals
In our previous article on creating concert visuals with AI, we looked at text-to-video tools like Sora, Veo, and Runway that generate video clips from written prompts. Those tools are great for creating cinematic, photorealistic content — dreamy landscapes, abstract liquid worlds, cosmic fly-throughs. But there’s another approach that’s just as powerful and arguably more fun: using AI to write code that generates visuals.
You don’t need to know how to code. The AI handles that part. You just need to know what you want to see. Some people call this “vibe coding” — describing your vision in plain language and letting the AI figure out the implementation. It’s become one of the most popular uses of AI tools, and it turns out it’s perfect for creating visuals.
Instead of describing a video and waiting for an AI to render it, you describe an animation in conversation and the AI writes a program that creates it — right in your browser, in real time. The results are algorithmic, geometric, and endlessly customizable. Think pulsing grids, spiraling particles, morphing shapes, generative patterns, and Op Art-style optical illusions. This is AI-assisted creative coding — and it’s how we created our Op Art Video Pack.
Why Use AI-Generated Code for Visuals?
Before we dig into the tools, it’s worth understanding why you might choose this approach over text-to-video generation:
- Perfect loops. Code-based animations can be designed to loop seamlessly from the start. No crossfade tricks needed — the math just works.
- Infinite variations. Change a color, a speed, a shape, a parameter — and you’ve got a completely different visual. One prompt can spawn dozens of unique loops.
- It’s addictive. Seriously. Once you start saying “now make it spiral” and watching the AI rewrite the code in real time, you’ll lose an afternoon.
Code-Generated vs. Text-to-Video AI: When to Use Which
If you’ve read our previous article on AI-generated visuals, you might wonder when to use which approach. Here’s a quick comparison:
Text-to-Video AI (Sora, Runway, Veo)
AI Code Generation (This Article)
Best for
Cinematic, organic, photorealistic imagery
Geometric, algorithmic, pattern-based visuals
Looping
Requires editing tricks or special tools
Mathematically seamless by design
Customization
Re-generate from scratch each time
Change one parameter, get a new variation
File size
Large (complex video data)
Small (clean, compressible motion)
Setup
Cloud service account + credits
Free AI chatbot in your browser
Style
Dreamy, surreal, photographic
Precise, geometric, Op Art
AI Tools That Write Visual Code
The major AI chatbots now include live code preview features — the tools that make vibe coding possible. You type what you want, and they generate HTML, CSS, and JavaScript that you can see running instantly. Here’s what’s available.
Claude (Artifacts)
Anthropic’s Claude has a feature called Artifacts that opens a side panel next to your conversation. When you ask Claude to write visual code, it renders the result right there — you get a live, interactive preview alongside the code. Ask for changes (“make the colors warmer,” “slow down the rotation,” “add more particles”) and the preview updates immediately.
Claude tends to write clean, well-structured code and handles creative coding prompts particularly well. It works great with p5.js, Three.js, the Canvas API, and CSS animations — all loaded via CDN links within a single HTML file.
Free and paid tiers both support Artifacts. Available at claude.ai.
ChatGPT (Canvas)
OpenAI’s ChatGPT has Canvas, a similar side-panel workspace that can render HTML and JavaScript in real time. You can ask it to generate a p5.js sketch, a Three.js scene, or a vanilla JavaScript animation, and Canvas shows you the live output. Iterate through conversation, just like with Claude.
Canvas runs on a sandboxed environment and supports external libraries via CDN. It’s included with both free and paid ChatGPT plans, though paid users get access to more capable models for complex code generation. Available at chatgpt.com.
Google Gemini (Canvas & AI Studio)
Google’s Gemini also has a Canvas feature that generates and previews code in a side panel — similar functionality to Claude Artifacts and ChatGPT Canvas. It’s free for all Gemini users and supports HTML, CSS, and JavaScript with live preview.
For more ambitious projects, Google’s AI Studio has a “Build Mode” that can generate complete web apps from natural language descriptions, with a live preview and one-click deploy. It’s overkill for a simple animation loop, but if you want to build an interactive visual instrument or a generative art gallery, it’s worth exploring. Available at gemini.google.com and aistudio.google.com.
Other Options
For more advanced workflows, AI-powered code editors like Cursor and Windsurf offer full development environments with AI built in, and web-based tools like v0, Bolt.new, and p5js.ai can also generate visual code with live preview.
Creative Coding Libraries: p5.js, Three.js, and More
You don’t need to understand these deeply — the AI will write the code for you — but it helps to know what to ask for:
-
Plain HTML & CSS — Don’t overlook the browser’s own animation system. The example above was built with it. CSS
@keyframes, custom properties, andcalc()can produce complex geometric animations with no JavaScript at all. Ask your AI for a “CSS-only animation” before reaching for a library — you may not need one. -
p5.js — The go-to library for creative coding on the web. Originally designed for artists and designers, it’s perfect for 2D generative art: particle systems, flow fields, geometric patterns, noise-based visuals. When in doubt, ask the AI for a p5.js sketch. It’s the easiest path to something beautiful.
-
Three.js — The standard for 3D on the web. If you want rotating 3D objects, volumetric lighting, camera fly-throughs, or anything with depth, ask for Three.js. It works in all the AI chatbot sandboxes via CDN.
-
Other options — The browser’s built-in Canvas API and CSS/SVG animations work without any libraries. GSAP is great for timeline-based sequencing. And for advanced GPU-accelerated effects (think Shadertoy), ask the AI for a GLSL fragment shader — the code is more complex, but the results are stunning.
Getting Started: Create Your First AI-Generated Visual Loop
Here’s a practical walkthrough. Open any of the AI chatbots mentioned above and try a prompt like this:
Create a p5.js sketch of concentric circles that pulse and rotate slowly. Use a dark background with bright, saturated colors. Make it loop seamlessly.
You’ll get a live preview of an animation in seconds. From there, start iterating:
- “Make the circles thinner and add more of them”
- “Use a color palette of deep purple, electric blue, and hot pink”
- “Add a subtle wobble to the rotation”
- “Speed it up slightly”
- “Now make a variation with squares instead of circles”
Each change takes seconds. In 15 minutes you can have a dozen unique loops.
The Preamble: Setting the AI Up for Success
AI chatbots are general-purpose tools. Left to their own devices, they might give you a tiny canvas, add UI controls you don’t need, or create an animation that doesn’t loop cleanly. You can avoid most of these issues by front-loading your first prompt with a few lines of context that tell the AI what kind of output you’re after.
Here’s a preamble you can paste at the start of any visual-generation conversation:
I want to create looping visual animations for live performance. For every visual you create, follow these rules:
- Use p5.js loaded via CDN in a single HTML file
- Make the canvas fill the entire browser window and resize responsively
- Use a dark or black background
- All motion should loop seamlessly using time-based math (sin, cos, modulo) — not frame counting
- Do not add any UI controls, text overlays, buttons, or sliders — just the visual
- Keep the animation smooth at 60fps
- Use bold, saturated colors unless I say otherwise
After that, every prompt in the conversation can be short and creative — the AI already knows the format you want. Just say “spiraling hexagons with a rainbow trail” and you’ll get exactly that, full-screen, looping, ready to record.
You can adjust the preamble to taste. Want Three.js instead of p5.js? Swap it in. Prefer white backgrounds? Change the line. The point is to establish the rules once so you don’t have to repeat them every time.
Tip: If you’re using Claude, you can save this preamble as a “Project” instruction so it’s automatically included in every conversation. ChatGPT has a similar “Custom Instructions” feature in settings. This way you just open a new chat and start prompting visuals immediately.
Prompting Tips for AI Creative Coding
With the preamble handling the technical setup, your creative prompts can focus entirely on what you want to see:
- Describe the motion, not just the shape. “Rotating hexagons” is okay. “Hexagons that slowly rotate and scale in a breathing pattern, with a trail effect” is much better.
- Mention the mood. “Hypnotic,” “minimal,” “psychedelic,” “calm,” “aggressive” — these words guide color choices, speed, and complexity.
- Reference real things. “Like a kaleidoscope,” “like cells under a microscope,” “like rain on a window” — analogies give the AI a visual target that’s more effective than abstract descriptions.
- Specify a color palette. The AI will pick colors if you don’t, but they’re often generic. “Use only cyan and magenta on black” or “warm sunset tones” gives you something with real character.
- Iterate in small steps. Don’t try to describe your perfect visual in one prompt. Start simple, then refine. It’s faster and more fun.
- Ask for variations. Once you have something you like, say “create 3 variations of this with different color palettes” or “make a version that’s more minimal.” This is one of the fastest ways to build a visual library.
- Switch technologies mid-conversation. If a p5.js sketch isn’t giving you the look you want, try saying “rebuild this concept in Three.js with a 3D perspective” — sometimes a different rendering approach transforms the result.
Starter Prompts
If you need a jumping-off point, here are prompts that reliably produce great results. Paste your preamble first, then try any of these:
Op Art & Geometric
- “Rotating concentric rings with alternating black and white segments that create a Moire interference pattern”
- “Concentric polygons that alternate between expanding and contracting, each slightly out of phase with the next”
Particles & Flow
- “Hundreds of small particles flowing along invisible curves, like smoke caught in a gentle wind. Particles should fade in and out.”
- “A starfield that drifts forward slowly, like flying through space. Stars should vary in size and brightness.”
Organic & Natural
- “Overlapping sine waves that drift across the screen like an aurora borealis, with shifting green and purple hues”
- “Concentric ripples expanding outward from random points, like raindrops on still water”
3D & Perspective (ask for Three.js for these)
- “A slowly rotating wireframe torus knot with glowing edges against a black background, rendered in Three.js”
- “A tunnel made of rotating geometric shapes that the camera slowly flies through. Three.js.”
Abstract & Psychedelic
- “A morphing blob shape with smooth noise displacement, cycling through iridescent colors”
- “Layered translucent shapes that drift and overlap, creating new colors where they intersect”
How to Capture AI-Generated Visuals as Video Files
Once you’ve created something you love in your browser, you need to capture it as a video file so you can use it in Visibox (or wherever else). There are several approaches.
Screen Recording
The simplest method: make your animation full-screen in the browser (F11 on most browsers) and record your screen.
- Mac: Use the built-in screen recording (Cmd+Shift+5) for quick captures, or OBS Studio (free) for full control over framerate, format, and encoding.
- Windows: Use Xbox Game Bar (Win+G) for quick captures, or OBS Studio for serious work with 60fps and format options.
In-Browser Capture (The Pro Move)
If you want pixel-perfect output without any screen recording artifacts, you can capture frames directly from the browser’s canvas element. This is more technical, but the AI can help you set it up:
- CCapture.js — A JavaScript library that hooks into your animation loop and captures every frame at a fixed framerate, regardless of how fast (or slow) your animation actually renders. This means you get buttery-smooth output even from complex scenes. Ask the AI: “Add CCapture.js to this sketch to export it as a WebM video at 60fps.”
- MediaRecorder API — A built-in browser API that can record a canvas element’s output directly. Ask the AI: “Add a record button that captures this canvas animation as a WebM file.”
Tips for Clean Captures
- Record at 60fps if your playback system supports it. The smooth motion makes a big difference with algorithmic visuals.
- Match your target resolution. If you’re outputting to a 1080p projector, size your browser window (or set your canvas) to 1920x1080 before recording.
- Record longer than you need. Capture 30-60 seconds even if your loop is only 10 seconds. You can trim in a video editor and pick the cleanest section.
- Close other applications while recording to avoid dropped frames.
- Use H.264 encoding for your final files. It’s universally compatible and what Visibox (and most playback software) handles best. OBS can record directly to H.264/MP4.
Using Your AI-Generated Loops in Visibox
Once you’ve captured your loops as video files, getting them into Visibox is the easy part — just drag and drop. A few things to keep in mind:
- Test your loops. Play them in Visibox with looping enabled and watch the transition point. Code-generated visuals usually loop more cleanly than AI-generated video, but it’s always worth checking.
- Use Visibox’s effects. Our Op Art Video Pack ships with 24 loops, but Visibox’s built-in color filters, flip, and rotate effects multiply those into hundreds of variations. The same trick works with your AI-generated content.
- Build a library. Every prompt session can produce a handful of unique loops. Over time, you’ll build a personal visual library that’s completely original to you.
Wrap Up
The best part of this approach is that it feels less like “AI made this” and more like “I designed this with a very fast assistant.” Download our free Op Art Video Pack to see what’s possible, then open Claude, ChatGPT, or Gemini and try creating your own. And when you’re ready to perform with them, Visibox makes it effortless.
Frequently Asked Questions
Do I need to know how to code? No. That’s the whole point. The AI writes the code; you describe what you want to see in plain English. You’ll pick up some terminology along the way (like knowing to ask for “p5.js” or “Three.js”), but you never need to edit code directly.
Which AI chatbot is best for generating visual code? All three major options — Claude, ChatGPT, and Gemini — can generate visual code with live preview. Claude tends to produce particularly clean creative coding output, but ChatGPT and Gemini are both very capable. Try all three and see which clicks with your workflow. They’re all free to start.
Can I use these visuals commercially? Generally yes. The code these AI tools generate is original (it’s not copying existing code), and the visual output is determined by mathematical functions, not trained imagery. Check each tool’s terms of service for specifics, but in practice, you own the output and can use it in performances, video packs, or anywhere else.
What resolution should I capture at? 1080p (1920x1080) is the sweet spot for most live performance setups. Many projectors and LED walls don’t exceed this resolution, and the files stay manageable. If you need 4K, set your canvas size accordingly before recording.