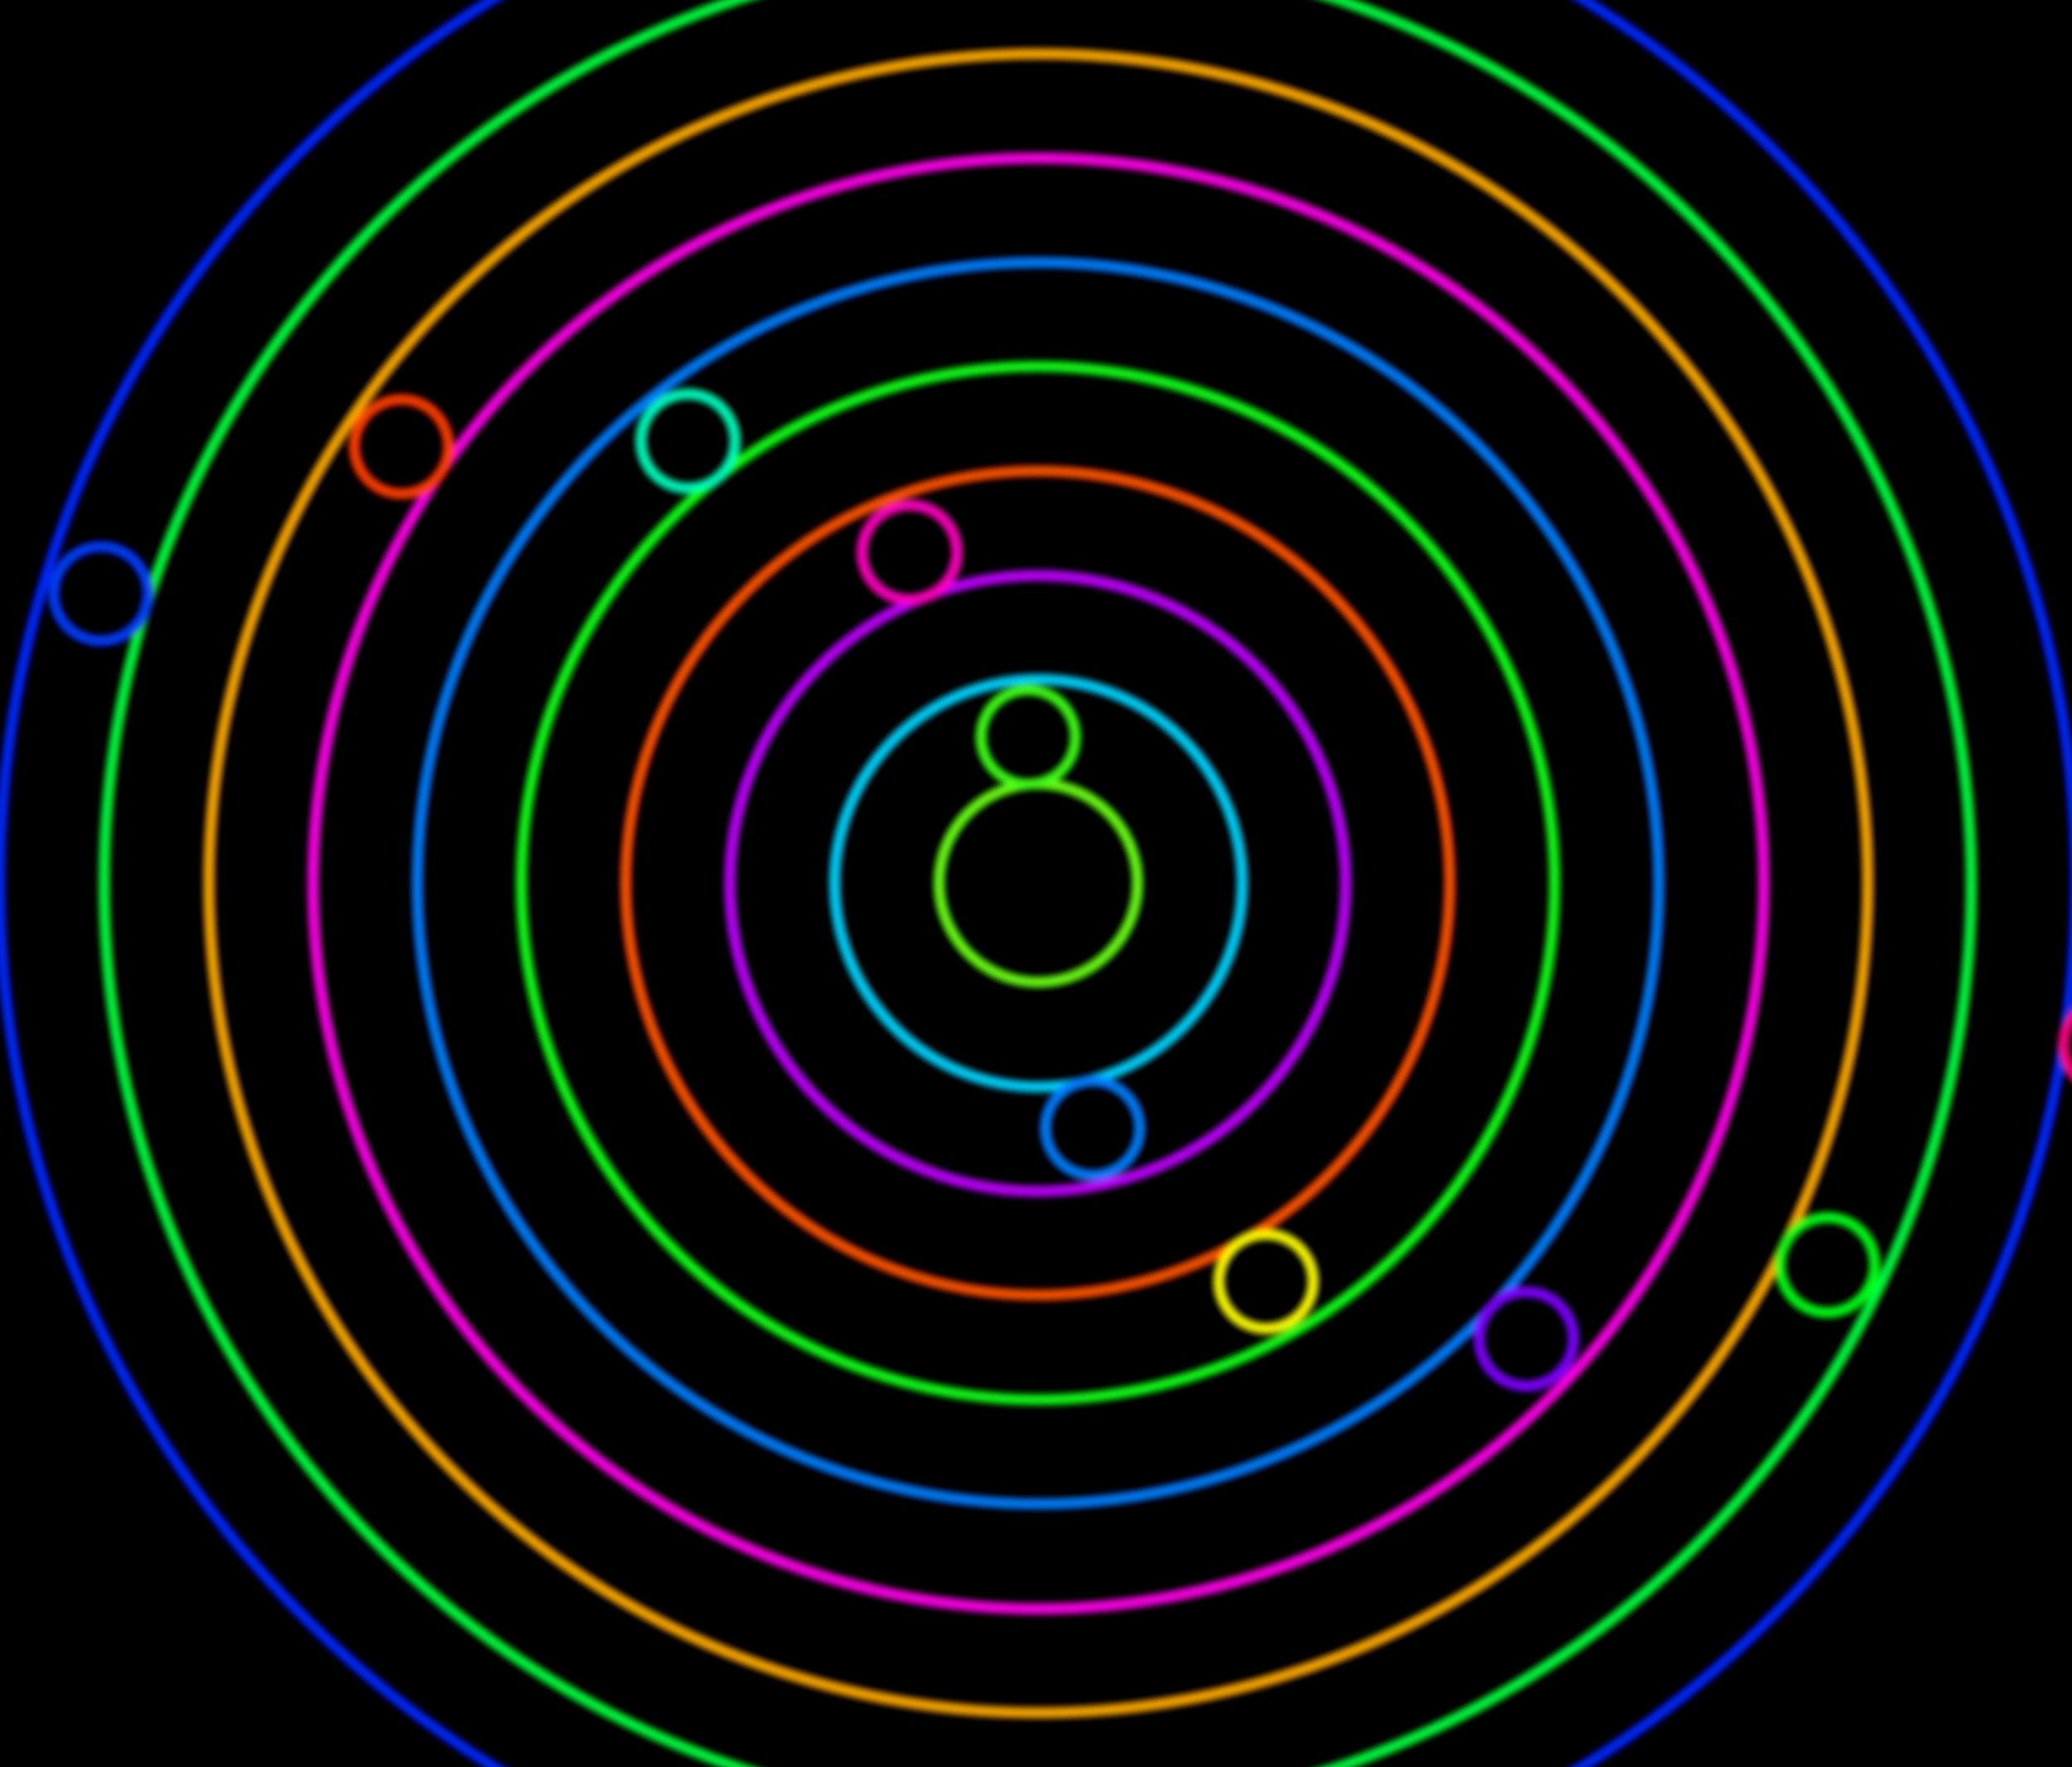
I wanted the look of the Stranger Things opening titles. Thin red-orange lines glowing on pure black, blooming softly at the edges, drifting past the camera like you’re flying through them. Not the logo, not the font, just that mood: something huge and half-formed, lit from within.
So I opened ChatGPT Work, the agent mode in OpenAI’s ChatGPT desktop app, and asked it to build the shader for me. I never wrote a line of shader code. I described what I wanted, ChatGPT wrote it, and Visibox ran it, live, reacting to music, all without me touching a text editor. That’s the whole trick of this video, and it’s worth unpacking because the interesting part isn’t the finished visualizer. It’s the back and forth it took to get there.
What a visualizer actually is in Visibox
Visibox 5 added a feature called Visualizers: generative, GPU-rendered clips that live on the grid next to your regular video clips. Some are audio-reactive and jump with the music. Some just run. Either way, you trigger them exactly like any other clips in your project.
There are two formats. MilkDrop is the older one, built during the Winamp era, and there’s a huge library of .milk presets floating around the internet that you can drag straight into Visibox and use. ISF is newer, from the team behind the VJ software VDMX: one shader file with a small header declaring its tweakable inputs. Visibox supports both, but for this project I used ISF, because it turns out that’s exactly the kind of file an AI writes cleanly.
Turning on the MCP connection
Before any of this works, Visibox needs to be talking to your AI assistant. That happens once, in Settings, under Connect to AI Tools. Visibox scans for installed AI apps and sets itself up in each one automatically. After that, ChatGPT (or Claude, or whatever you’re running) can see your project, read the visualizer formats, build presets, and even control playback: volume, full screen, triggering clips. I checked the connection was live by asking ChatGPT if it could reach Visibox; it answered back with my current volume level.
One detail matters here: Visibox connects as a local tool running on your own computer, so you need a desktop AI app that can reach it. The ChatGPT website in a browser can’t see a local app like Visibox. That’s why this uses ChatGPT Work, one of the modes in OpenAI’s desktop app (the same app that recently absorbed Codex), or Claude Desktop, rather than chatgpt.com. From here on I’ll just call it ChatGPT.
I did this same thing with Claude Desktop in an earlier video, and the workflow was nearly identical.
The trick: make the AI describe the reference first
Before asking for any code, I asked ChatGPT to describe the Stranger Things opening in its own words, so we could agree on a concept before anything got built. That one step did more work than I expected.
It came back with something close to a shot description: near-total blackness, thin red-orange lines drifting past a camera, soft bloom, slight blur, and even its own guesses at audio reactivity. That gave me something concrete to react to instead of a blank page.
I told it what to keep and what to change: geometric fragments instead of letterforms (too close to reproducing the show, and honestly, more usable without them), configurable colors so the palette could go blue later, and constant forward motion, new layers of shapes emerging from the dark as old ones drift off the edges of the frame.
One note mattered more than the rest: never let the frame go empty. Whatever the density setting, there should always be shapes somewhere in the depth field. It’s the difference between a visualizer that feels alive and one that feels like it’s waiting for something to happen.
ChatGPT named the concept itself, on its own initiative: Ember Geometry. Once we agreed on that, I bumped it up to a more capable reasoning model for the actual coding and told it to build the preset as a new ISF visualizer.
First build: a black screen
ChatGPT worked for a couple of minutes, talking to Visibox over MCP the whole time, reading the ISF format spec, writing the shader, registering it as a new preset. Then I switched back to check it out.
Black screen. Nothing.
That’s the part most videos would cut. I didn’t. I just told ChatGPT what I was seeing: a black screen, no visualizer, and asked it to check its own syntax. It found a fragment shader compile error, something about illegal use of a reserved word, and fixed it. Second try: there it was. Glowing red-orange lines, drifting past the camera, exactly the mood I’d described. That fix took one message and a couple of minutes.
Too reactive, then just reactive enough
I put on some music to see how it responded to audio, and it was a lot. The motion reversed itself with the bass, so instead of feeling like continuous forward movement, it felt like the whole thing was lurching back and forth. Fun to look at for about ten seconds, distracting after that.
I told ChatGPT what was wrong: the audio reactivity was overriding the forward motion, and I wanted the forward push left alone. Bass and highs could still drive glow and grain, just not the camera movement. About a minute later, the update landed. Calmer, more controlled, still clearly alive when the music hit.
Dropping it into a project was the easy part: drag Ember Geometry onto a song, same as any other clip, run it full screen, done.
Why this matters more than the shader itself
None of this required me to know GLSL, or ISF’s parameter syntax, or anything about shader compilation. What it required was being specific about what I wanted, honest about what wasn’t working, and willing to go back and forth instead of accepting the first pass. That loop, describe, look, correct, is the actual skill, and it isn’t tied to ChatGPT specifically. Turn on the MCP connection, agree on a concept before any code gets written, and expect the first build to need a note or two back. That’s normal, not a failure.
Want the same trick applied to overlay effects instead of full-screen visuals? That’s a companion video: Overlay Effects With AI. And if you’d rather follow a structured step-by-step than a session story, there’s a written recipe too: building an AI-generated visualizer from scratch.
Visibox comes with a free 14-day Pro trial. More on visualizers, MilkDrop, and ISF in the manual.